
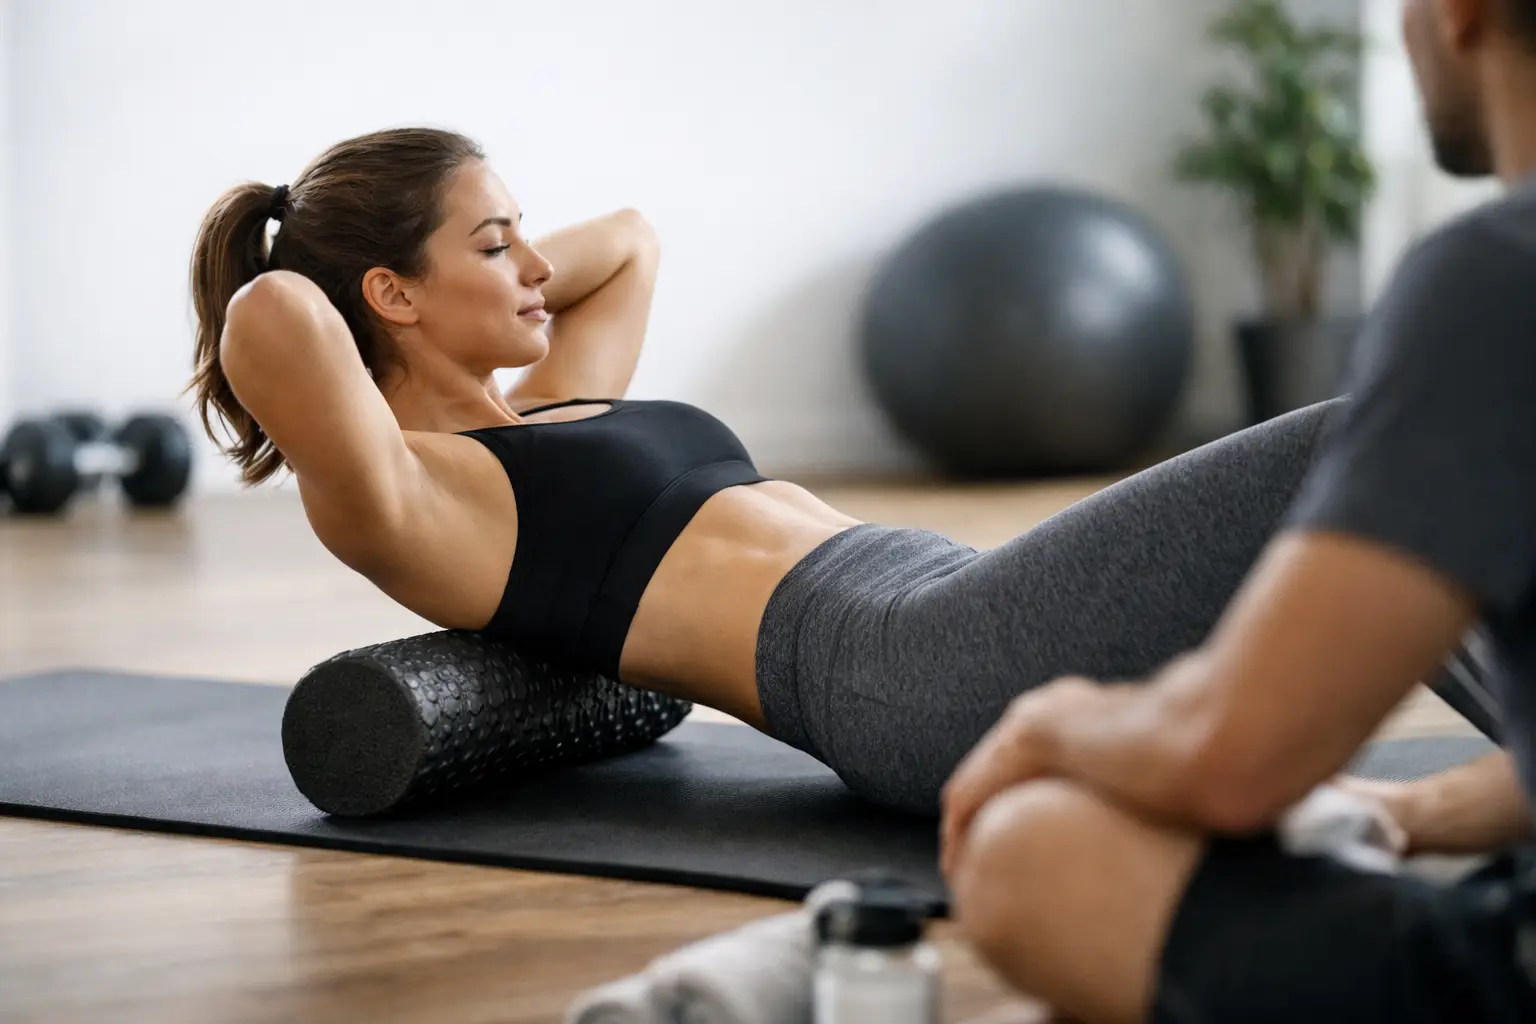
A foam roller can feel like a small act of rescue after a long shift, a hard workout, or a day spent at a desk. But more pressure is not always better. Learning how to foam roll safely can help you use this recovery tool to feel more comfortable in your body without turning a few tight spots into bruising, irritation, or more soreness.
Foam rolling is a form of self-massage. It may temporarily reduce the feeling of muscle tightness, support short-term range of motion, and help you slow down enough to notice what your body needs. It cannot forcefully “break up” knots or replace medical care for an injury. Think of it as one useful part of recovery, alongside sleep, hydration, regular movement, nutrition, and appropriate strength training.
Table of Contents
- What foam rolling can and cannot do
- How to foam roll safely, step by step
- Areas to approach with care
- Signs you should stop
- How often to foam roll
- Frequently asked questions
What foam rolling can and cannot do
When a muscle feels stiff, it is tempting to attack it with the firmest roller you can find. That approach can backfire. Muscles and the nervous system often respond better to controlled, tolerable pressure than to an intense battle on the floor.
Foam rolling may help you feel looser before activity or less stiff afterward, especially when paired with a warm-up, walking, or gentle mobility work. The relief is often temporary, and that is still useful. If it helps you move with more ease before a squat, a run, or a busy day of parenting, it has done its job.
What it cannot do is diagnose pain, heal a tear, correct every posture concern, or make up for a training plan that gives your body too little recovery. Persistent pain deserves more attention than a roller can provide.
How to foam roll safely, step by step
The goal is not to prove your toughness. The goal is to leave the session feeling the same or better than when you started.
1. Choose the right roller for your current needs
A smooth, medium-density foam roller is a good starting point for most people. It spreads pressure across a wider surface and is easier to control than a very hard, textured roller. If you are new to rolling, returning to exercise, managing general sensitivity, or simply feeling worn down, softer is usually the smarter choice.
Firm rollers and textured surfaces can be useful for some experienced exercisers, but they are not automatically more effective. If you tense your breath, hold your face tight, or brace every muscle to tolerate the sensation, the roller is probably too aggressive for that area.
2. Start with gentle, supported pressure
Place the roller under the muscle you want to address and use your hands or feet to control how much body weight rests on it. For example, when rolling your calf, keep one foot on the floor for support rather than stacking both legs immediately. When rolling your upper back, keep your hips grounded at first if full body weight feels like too much.
Aim for pressure that feels like mild to moderate discomfort, not sharp pain. A practical guide is about a 4 to 6 out of 10. You should be able to breathe normally and speak in a full sentence. If the sensation makes you wince, numb, or hold your breath, reduce the pressure or move on.
3. Roll slowly, but do not camp out on pain
Move at a slow, steady pace over the soft tissue of the muscle, usually for 30 to 60 seconds per area. Small passes are enough. You do not need to spend five minutes grinding one tender point in hopes of forcing it to release.
If you find a sensitive spot, pause for a few calm breaths only if the pressure remains tolerable. Then continue moving. A tender area can be a signal that the tissue is sensitive, tired, or doing more work than usual. It is not necessarily a target that needs more force.
4. Keep your joints and spine out of the pressure zone
Roll the muscle belly, not directly over joints, bones, or the low back. For your upper back, keep the roller below the neck and above the bottom of the rib cage. Support your head with your hands if that feels more comfortable, and avoid cranking your neck forward.
For the front of the thigh, keep your movement between the hip and the top of the knee. For calves, stay between the knee and ankle. A little precision goes a long way in making foam rolling feel helpful instead of punishing.
5. Use simple breathing as your pressure check
Slow breathing gives your body useful feedback. Exhale as you pass over a tender area, then let the next inhale soften your shoulders and jaw. If your breathing becomes shallow or you are bracing hard, decrease your body weight on the roller.
This is especially helpful after stressful days. Your body may feel tight because you trained hard, sat still, slept poorly, carried a child, or spent the day on high alert. Foam rolling can be a brief reset, but it works best when you approach it with patience rather than frustration.
6. Recheck how you feel afterward
Stand up, walk around, or perform a gentle movement related to your workout. If you rolled your calves, try a few easy ankle circles. If you rolled your upper back, reach your arms overhead. You are looking for a small improvement in comfort or movement, not a dramatic transformation.
If an area feels more irritated, bruised, or sore afterward, use less pressure next time or skip that location. Recovery habits should make tomorrow more manageable, not make it harder to get out of bed.
Areas to approach with care
Some locations are better served by another method, such as gentle stretching, a massage ball used carefully, strength work, or guidance from a qualified clinician. Avoid rolling directly on your neck, the front or sides of your throat, your low back, your abdomen, and the bony parts of your hips, knees, ankles, and spine.
Be cautious around the outer thigh. Many people aggressively roll the iliotibial, or IT, band because it feels tight. The band itself is dense connective tissue, not a muscle that needs to be flattened. If this area is sensitive, use light pressure on the surrounding muscles, such as the glutes and outer hip, and consider whether your training volume, footwear, running form, or lower-body strength needs attention.
Skip foam rolling over open wounds, fresh bruises, rashes, varicose veins, or areas with reduced sensation. Talk with a health professional before using a roller if you have osteoporosis, a bleeding disorder, a history of blood clots, are taking blood-thinning medication, are pregnant with new or unusual pain, or are recovering from surgery or a significant injury.
Signs you should stop
Mild tenderness can be normal. Pain that feels sharp, electric, burning, or alarming is not a recovery tool working harder. Stop foam rolling and seek medical guidance when appropriate if you notice any of the following:
- Numbness, tingling, weakness, or pain that travels down an arm or leg
- New swelling, warmth, redness, or significant bruising
- Pain that gets worse during or after each rolling session
- Symptoms following a fall, collision, surgery, or other injury
Also pay attention to patterns. If you keep rolling the same spot every day because the discomfort immediately returns, consider the bigger picture. Your body may need a change in workload, better workstation breaks, more gradual exercise progression, or an evaluation from a physical therapist or other clinician.
How often should you foam roll?
For most people, a few minutes before exercise or after activity is plenty. You might roll one or two areas for 30 to 60 seconds each before a workout, then follow it with movement specific to what you plan to do. Before a run, for instance, gentle calf and glute rolling can lead naturally into walking, leg swings, and an easy warm-up.
On rest days, a short session can feel good, but daily rolling is not a requirement. Let your response guide you. If you feel tender the next day, scale back the pressure, duration, or frequency. If rolling becomes another task you dread checking off, choose a five-minute walk or a few mobility movements instead. Consistency comes from options that fit real life.
A steadier way to recover
Foam rolling is most helpful when it supports your life rather than taking it over. Use enough pressure to create relief, not enough to win an argument with your muscles. Pair it with sleep when you can get it, regular meals, manageable training, and moments of movement throughout the day.
Your body does not need punishment to become stronger or more capable. It responds to informed, repeatable care.
Frequently Asked Questions
Should foam rolling hurt to work?
No. Some tenderness is common, particularly in an area that has worked hard or has been inactive for a long time, but sharp or intense pain is not necessary for results. Stay in a range where you can breathe and relax your muscles.
Is it safe to foam roll before a workout?
Yes, brief and gentle foam rolling can be useful before activity, particularly if it helps you move more comfortably. Follow it with a dynamic warm-up and begin your workout at an appropriate intensity. Do not rely on rolling alone to prepare for demanding exercise.
Can foam rolling make soreness worse?
It can if you use too much pressure, roll too long, or work directly on an irritated area. If you feel bruised or significantly more sore afterward, take a break and use lighter pressure next time. Ongoing or worsening pain is a reason to check in with a health professional.
What if I do not have time for a full foam-rolling routine?
Choose one area that affects your comfort most and spend a minute there, or skip the roller entirely on a packed day. A brief walk, a few gentle stretches, or getting to bed a little earlier can also support recovery. The helpful closing thought is simple: small, sustainable choices count, and your recovery does not have to be perfect to be worthwhile.
For more exercise tips, read The Resilient Athlete: A Self-Coaching Guide to Next Level Performance in Sports & Life by Andrejs Birjukovs.